
On this page
Before you start
- Osenpa Auto Clicker 2.1.0 and a picture with a solid color you can change, such as a blue rectangle in Paint.
- Keep the target visible and save other work. This tool sends real mouse input; it will not click into Osenpa’s own windows.
Follow these steps
Open Color Detection
Choose Automation with steps if needed, then open Color Detection. Leave Action type set to Color Detection for this first test.
Choose the target color
Under Color to find, use Pick color to select the solid color in your test window. Keep one target at first. Leave the advanced Tolerance setting at its starting value until you test a match.
Limit the search area
Set Search area to Selected area and choose Select area. Draw a small region around the target, excluding other places with the same color. Set Condition to Appears.
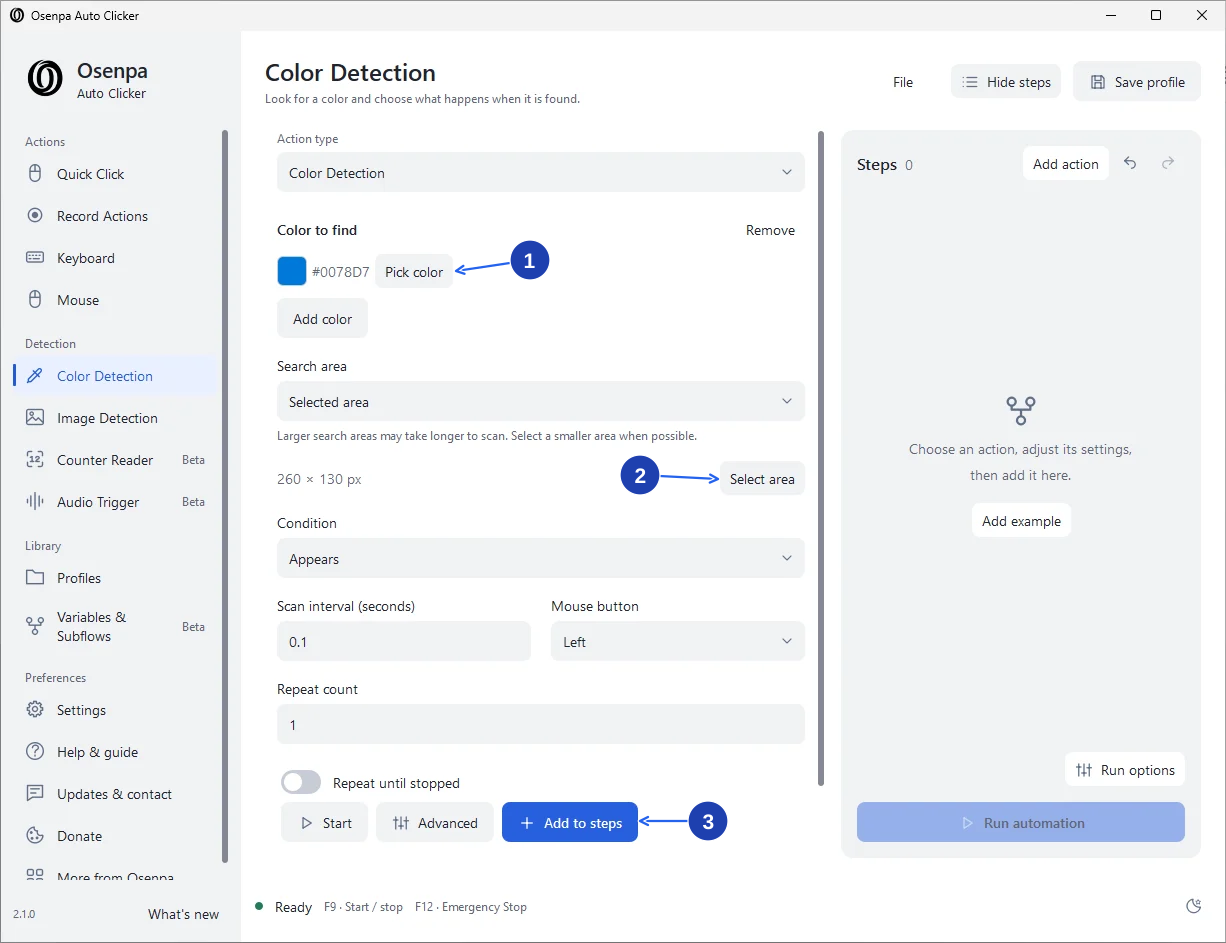
This test looks for blue inside a small selected area. Keep Repeat count at 1 while checking the target. Enlarge image. - Pick color selects the color to detect.
- Select area limits where the app looks for the color.
- Add to steps adds this configured action to the automation.
Limit the first test
Set Repeat count to 1 and leave Repeat until stopped off. Open Advanced. Under Timing and repeats, set Wait to Check once so a missing color does not leave the test waiting.
Test the matching color
Keep the test window visible and select Start. Watch where the click lands. Press F12 immediately if it acts in the wrong place.
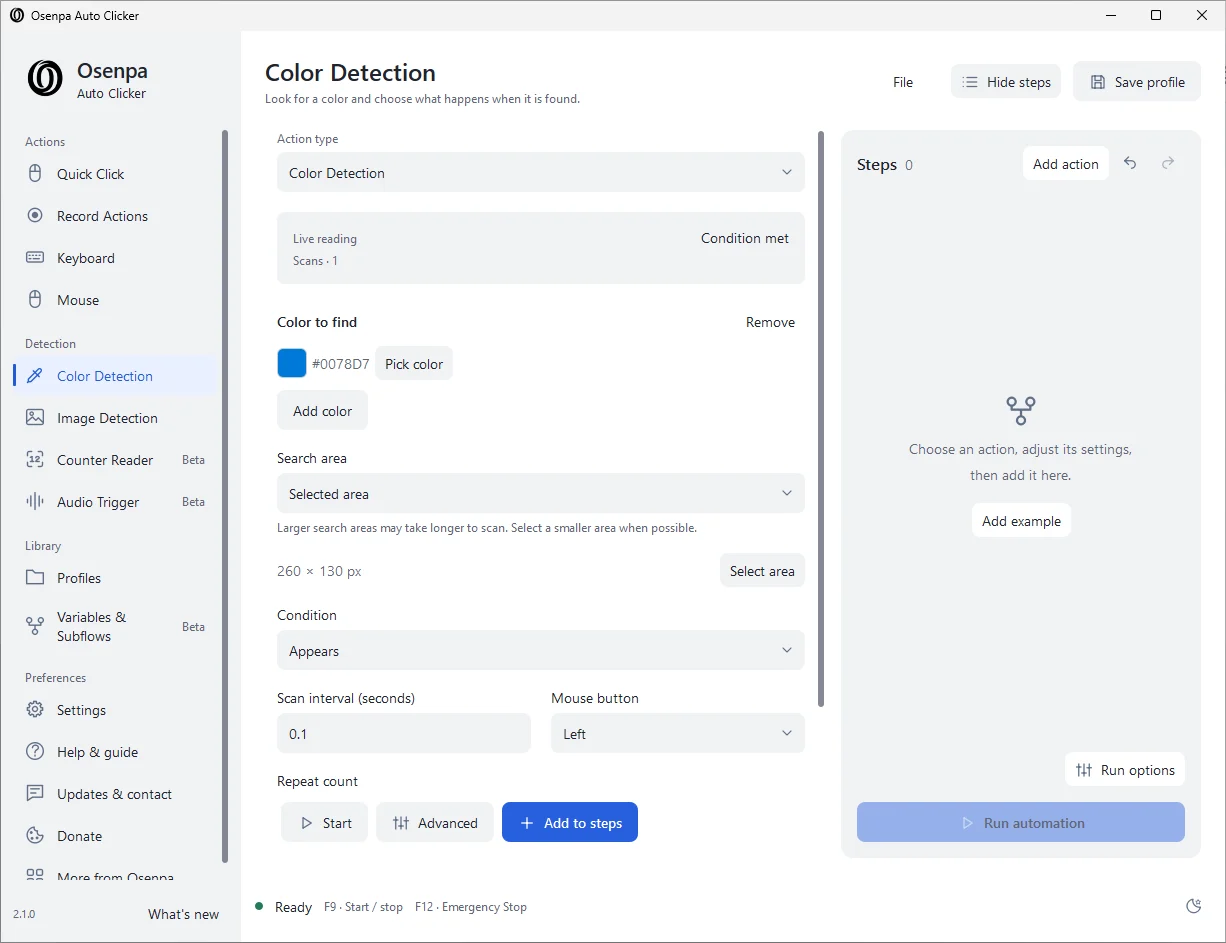
Condition met shows that the blue target was found. Test a different color next. Enlarge image. Test a different color
Stop, change the target to a clearly different color and repeat the limited test. It should not click. Adjust the area or tolerance only after checking what caused a wrong match.
Check your result
- The matching color produces one click in the intended area.
- A different color does not click. The test finishes after one scan without sending input to another window.
If you need more help
If it clicks the wrong place
Stop with F12. Narrow the search area and check for another patch of the same color. Higher tolerance accepts more similar colors, so it can also create unwanted matches. Test after each small change.
If no color is found
Check that the target is visible inside the selected region. Themes, hover states, transparency, lighting effects and display changes can alter its displayed color. Pick the current color again and retest.
When to use image detection instead
A plain color cannot distinguish two same-colored buttons. Use Image Detection when the target’s shape or picture matters. Keep the first test small and check both matching and non-matching states.
Add the checked action to a workflow
After the standalone test works, use Add to steps and review Run options before running the full automation. A later repeat can click again; a successful one-click test does not make an unlimited run safe. Stopping does not undo input already sent.
Need the app?
Osenpa Auto Clicker. Check requirements and download options.